I have never been much of a baker before. I have always stuck to savory cooking mainly because I am lazy with the measuring. Well, I have found a recipe for Apple Pie that is really easy to make and remember. Remind me to never make three in one day again, though. One might think that cooking in bulk would not be that much harder, but it was!
Let me start this off by saying I do not make my own crust. I fear that doing this would really mess up my easy dish. There are good products out there to use instead. If you like to make your own crust, by all means, go ahead. I will try to tackle that later. Also, about the apples. I have heard that Grammy Smith are the only apples good enough for pie. I agree...almost. I use half Granny Smith and half Golden Delicious. The green apples stand up to cooking much better then the red ones, but I like the two textures and the way the red apples melt in your mouth. Now that we have those two points out of the way, let's make some pie!
Ingredients:
- 2 ready-to-bake pie crusts for 9 in pies
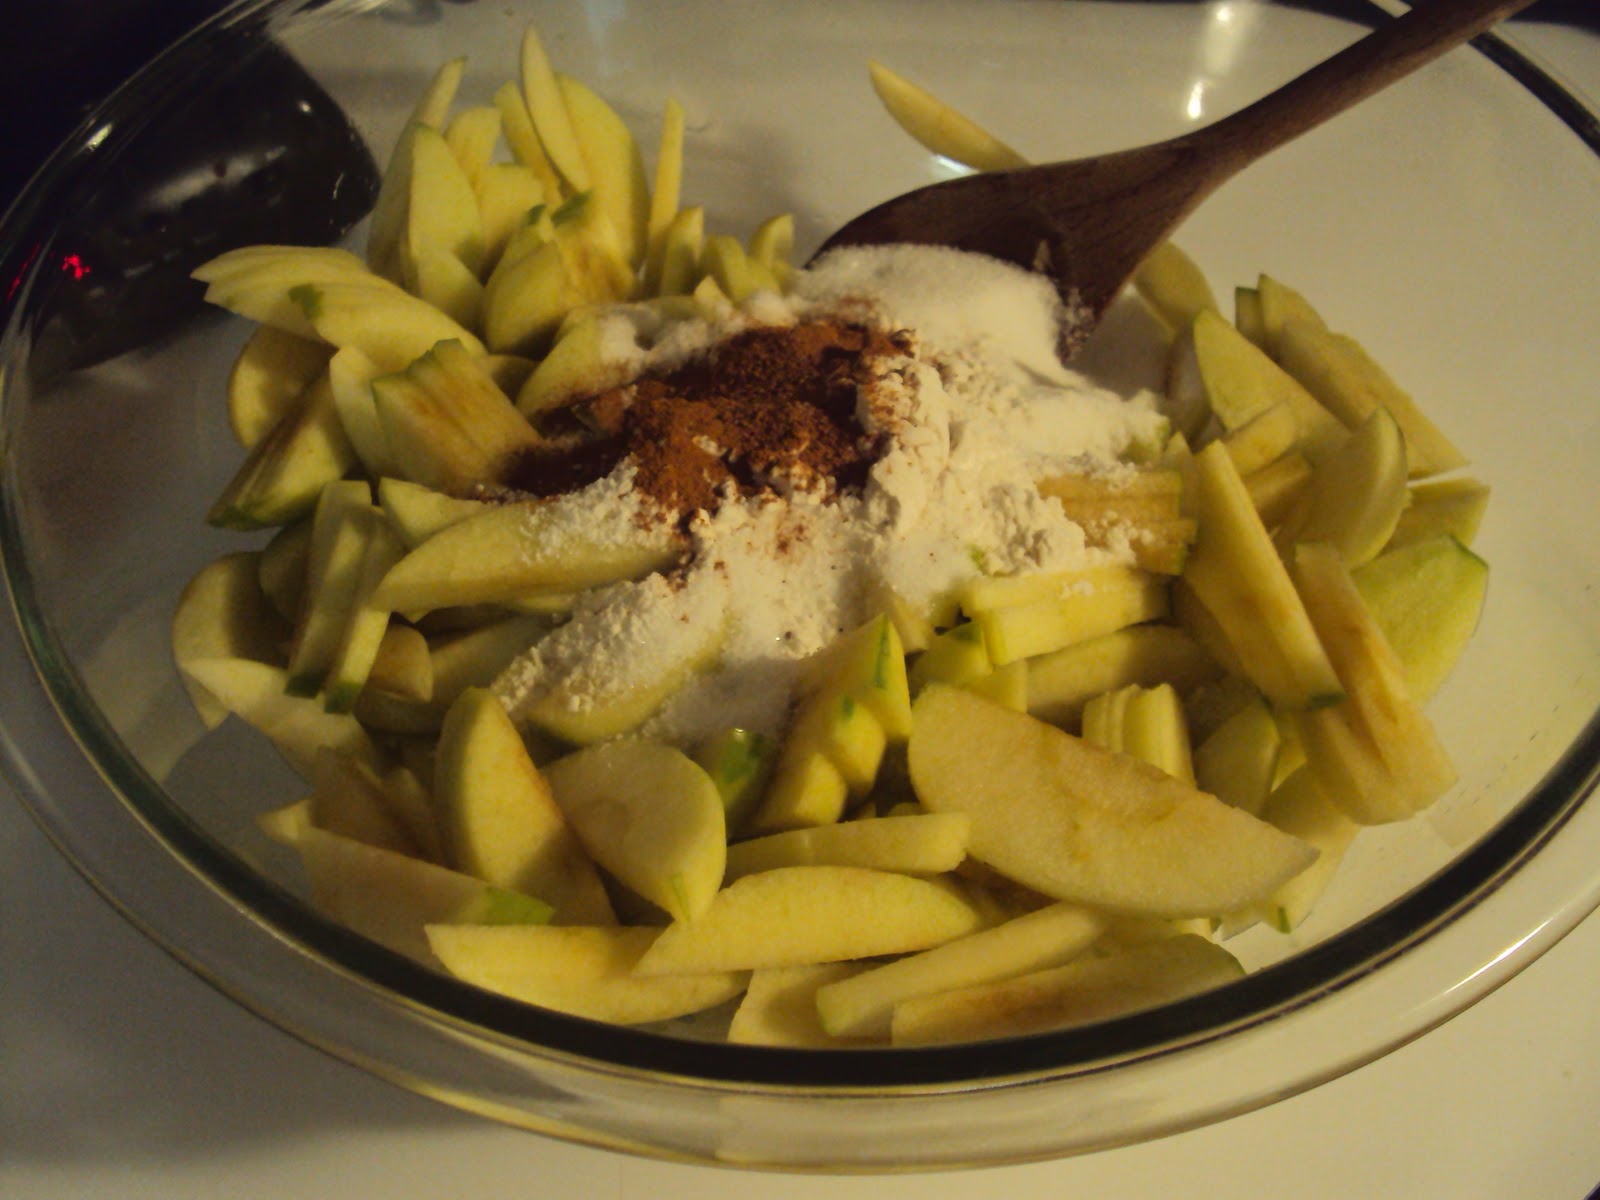
- 8 small-medium apples (4 green, 4 red)
- 1 lemon, juiced
- 1 c white sugar
- 1 Tbsp flour
- 2 Tbsp cinnamon
- 1 tsp nutmeg
- pinch kosher salt
- cinnamon sugar mixture (for serving)


2. Remove one crust from the packaging and unfold it onto the counter. If there are any tares in the dough just press them back together. Lay this bottom crust into the pie pan and press, carefully, into the bottom corners. If the dough ripples on any of the sides of the dish just press flat. Pour the apple mixture into the dish and get working on the lattice top.


3. The lattice top is hard to explain, easy to do, but hard to explain. There is a diagram below. Basically, you take out the other pie crust and roll it onto a flat surface (counter). Take a ruler, or I us the side of the box, and cut strips about 3/4 in thick. Remove every other one and lay them starting with the smallest across the pie. Now, unroll every other strip and lay another strip parallel to the previous strips. Make sure the strip you choose to lay down reaches the length of the pie. Lay the strips that you rolled up back down and roll up the other strips that were down before. Lay another parallel strip and cover back up. Repeat this until the whole pie is covered. If you choose another topping feel free to ignore this past paragraph.
 |
| I made one on the counter so it might be easier to see. |

 |
| Pillsbury.com |
 |
| Not my picture, but I can't do that and take the pic at the same time! |

No comments:
Post a Comment